[Model (Model Dictionary)]
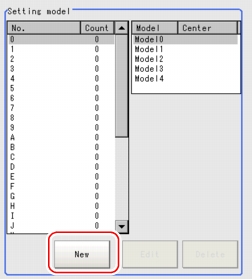
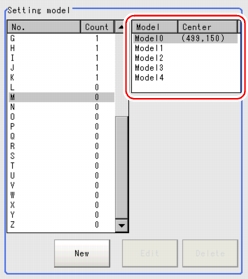
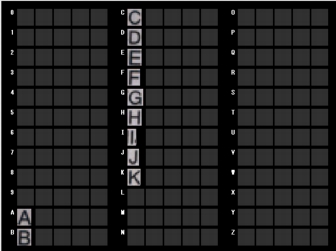
Models can be registered in one of 36 index types (0 to 35), and up to five models can be registered per index.
Important
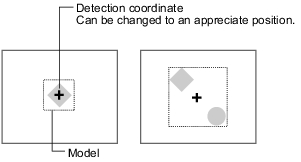
- When a model is registered, the central coordinates of the model are registered as the detection coordinates (if multiple figures are combined, the central coordinates of the circumscribed rectangle are registered). For this reason, place the measurement object in the correct position when registering a model.
- In the "Item tab" area, tap [Model].
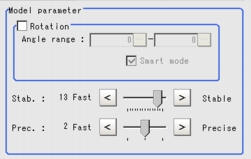
- If necessary, set up the "Model parameter" area.
- In the "Setting model" area, select a model and tap [New].
- Specify a region to be registered as a model by using the Drawing tools.
- Tap [OK].
- To register two or more models, repeat the Steps
 3 to
3 to  5.
5. - In the "String setting" area, tap [...] for each item as necessary.A software keyboard is displayed.
The number of characters for each string is fixed to 12 characters.
How to input strings: User's Manual, "Setting Figures"
For the subsequent operations, see  Setting up [Model Dictionary].
Changing Model Parameters
When any settings are changed, verify whether measurements can be performed correctly through actual measurements.
- For search operations, see
 User's Manual, "Configuring Search".
- In the "Model parameter" area, specify a value for each item.
- If necessary, check [Rotation] and specify a value for each rotation item.How to input a value:
 User's Manual, "Inputting a Value"
 - The values for "Stab." and [Prec.] can be adjusted by dragging the slider.
- If necessary, check [Rotation] and specify a value for each rotation item.
Points on Adjustment
For adjustments, see also  User's Manual, "Points on Adjustment".
When measurement results are unstable
- If the model image consists of detailed figures, specify a larger value for "Stab.".
- If images that should be judged OK based on the model image vary in some degree, specify a smaller value for "Candidate LV".
- When [Rotation] is selected, if the model region shape is complex, uncheck the [Smart mode] option.
When the processing speed is slow
- If the model image is a simple figure or a large figure, specify a smaller value for "Stab.".
- If images that should be judged OK based on the model image have less variation, specify a larger value for "Candidate LV".
- When [Rotation] is selected and the model region shape is simple, check the [Smart mode] option.
For other adjustment methods, see  User's Manual, "Shortening Measurement Time by Setting Processing Item".
