[Camera N: Calibration (3D Camera Image Input)]
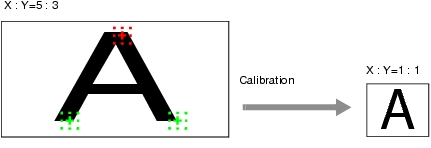
By setting the calibration, the measurement result can be converted and output as actual dimensions. Select your calibration method.
For calibration, see  User's Manual, "Terminology".
Important
- [Camera N: Calibration] is used to set the calibration (function to convert to actual dimension) for the standard camera (camera photographing the object to be measured from the front). Even when 3D cameras are connected, this must be set when using only the front camera to measure 2D processing items. For 3D processing, calibration to spatial coordinate must be performed after calibration to actual dimension. Be sure to set the following.
Setting up Calibration by Specifying Any Points (Point)
The calibration parameter is calculated automatically when the actual coordinate of the specified location is entered. Up to 3 points can be specified.
- In the "Item tab" area, tap [Calibration].
- In the "Calibration setting" area, select "Point".
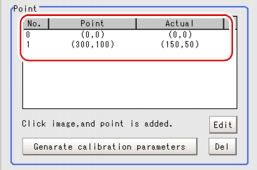
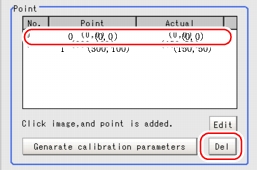
- In the "Point" area, add a point coordinate pair.
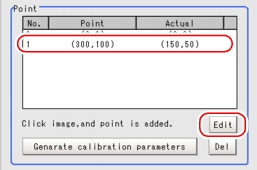
- Select coordinates you want to edit on the Point List, and tap [Edit].
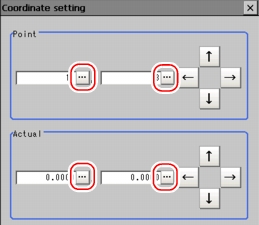
- In the Coordinate Setting window, tap [...] for "Point" and "Actual", and specify the X and Y coordinate values for each of them.For how to input value, see
 User's Manual, "Inputting a Value"
 - Tap [OK].
- Repeat the Step
 3 to add point coordinates.
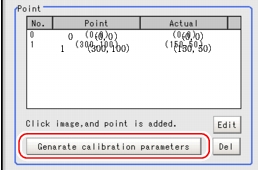
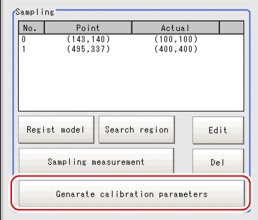
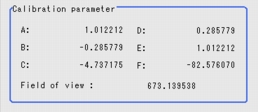
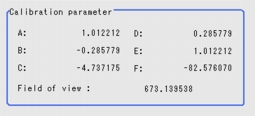
 - Tap [Generate calibration parameters].
For the subsequent operations, see  Setting [3D Camera Image Input].
Setting up Calibration by Entering Values (Parameter)
- In the "Item tab" area, tap [Calibration].
- In the "Calibration setting" area, select "Parameter".
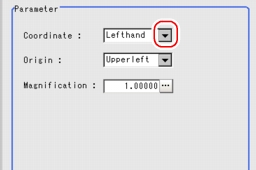
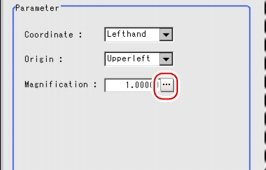
- In the "Parameter" area, tap [
 ] for "Coordinate" and select a coordinate system.
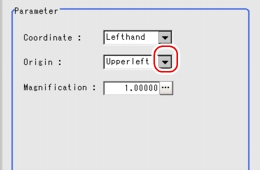
- Tap [
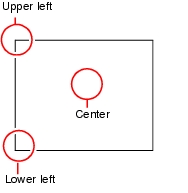
 ] for "Origin" and choose where to place the origin of the actual coordinate.
 - Tap [...] for "Magnification" and input a value of the actual size corresponding to one pixel.For how to input value, see
 User's Manual, "Inputting a Value"
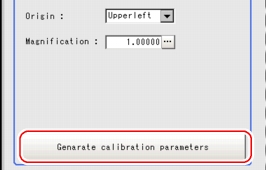
 - Tap [Generate calibration parameters].
For the subsequent operations, see  Setting [3D Camera Image Input].
Setting up Calibration by Sampling Measurement (Sampling)
Actual coordinates can be obtained by registering the model and searching the specified measurement area. Calibration parameters are calculated automatically from the obtained actual coordinates.
- In the "Item tab" area, tap [Calibration].
- In the "Calibration setting" area, select "Sampling".
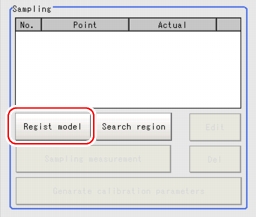
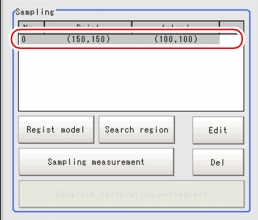
- In the "Sampling" area, tap [Regist model].
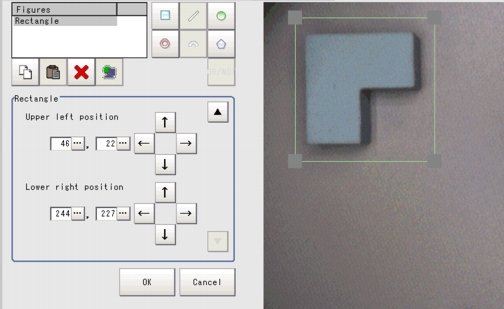
- Register a model using the Drawing Tools.
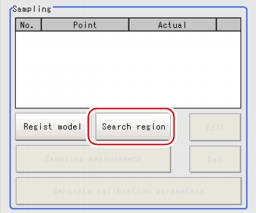
- Set the search region as necessary.
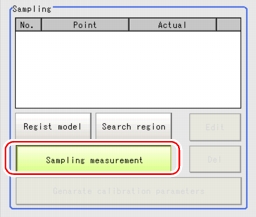
- Tap [Sampling measurement].
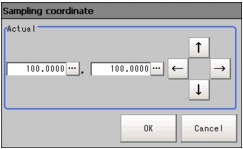
- In the Sampling Coordinate window, tap [...] to enter the X and Y values.For how to input value, see
 User's Manual, "Inputting a Value"
 - Tap [OK].
- Move the object to be measured and repeat the Steps
 3 to
3 to  8.
8. - Tap [Generate calibration parameters].
For the subsequent operations, see  Setting [3D Camera Image Input].

