Creating a New Scene
This section describes how to create a new scene.
For how to edit scenes, see Editing a Processing Unit in a Scene. For the detailed settings of each processing unit added to a scene, see
  Processing Items List Manual.
For how to edit scenes, see
- There is a limit for the total number of [Camera Image Input] ([3D Camera Image Input]), [Camera Switching] ([3D Camera Switching]), [Position Compensation], [Filtering] and [Color Gray Filter] units. The available number of units varies depending on the combination of cameras. Use the following numbers as a reference:
- Display the scene to edit on the Main screen.
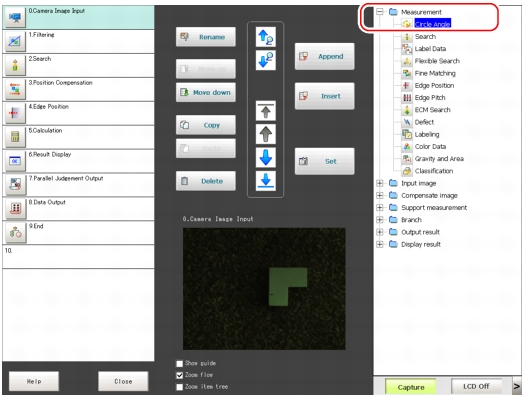
- Tap "Edit flow" in Toolbar.
- Select a processing item to be added from the processing item tree.
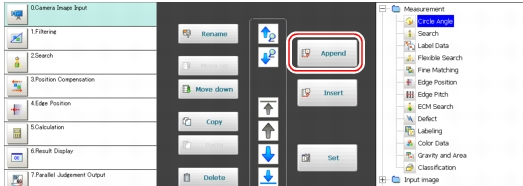
- Tap [Append]. Important
- When 2D measurement and 3D measurement are performed within the same scene, insert a [camera switch] just before the processing item where the dimension changes.
Example) When performing inspections using 3D Camera Image Input, 3D Edge Position, Defect, and 3D Height, create a flow as follows.
0. 3D Camera Image Input (Camera 0+1)
1. 3D Edge Position
2. Camera Switching (Camera 0)
3. Defect
4. 3D Camera Switching (Camera 2+3)
5. 3D Height
- 3D measurement with three cameras does not allow 3D Camera Switching.
Switch a camera (camera0) before the 3D measurement.
Example) When performing inspections using 3D Camera Image Input (Using Camera 0+1+2), 3D Edge Position, Defect, and 3D Height, create a flow as follows.
0. 3D Camera Image Input (Camera 0+1+2)
1. 3D Edge Position
2. Camera Switching (Camera 3)
3. Defect
4. 3D Camera Switching (Camera 0)
5. 3D Height
- When 2D measurement and 3D measurement are performed within the same scene, insert a [camera switch] just before the processing item where the dimension changes.
- Set details for the processing unit.
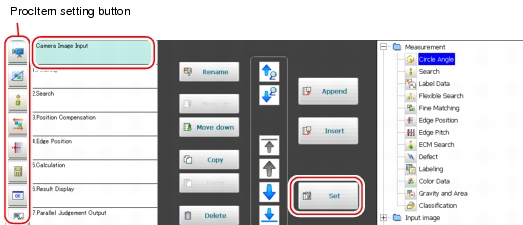
Select a processing unit to set and tap [Set].For details, see Processing Items List Manual.
- Continue to add processing units. Repeat the steps after
 3.For moving, deleting, or copying processing units in a scene, see
 Editing a Processing Unit in a Scene below.


