[Ref. Position (3D Height)]
This item can be changed if necessary. The reference measurement is executed at the same time the measurement region is specified, with the reference position set automatically. This item can be used to change the reference position to any desired position.
For the reference position, see User's Manual, "Terminology".
For the reference position, see
- In the "Item tab" area, tap [Ref.position].
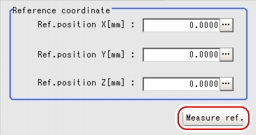
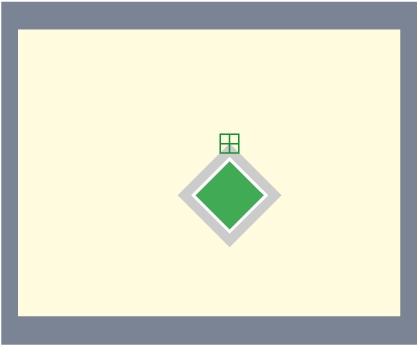
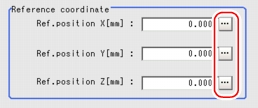
- Set the reference position.There are two methods to set the reference position: performing the reference measurement while the image to be measured is displayed, or specifying the reference coordinates directly.The measurement coordinates are re-calculated, and the cross-shaped cursor will be displayed in the "Reference coordinate" area.In the Reference Coordinate area, tap [...] for each item and specify values for your desired reference coordinates (the coordinates of the reference position).How to input a value:
 User's Manual, "Inputting a Value"
 Note
Note- Note the following when the reference coordinates are specified directly:
- The cross-shaped cursor will not be displayed in the "Reference coordinate" area.
- Although the X-, Y-, and Z-coordinates in the window show the input values (mm), X- and Y-coordinates which are referenced as measurement coordinates from result display processing item, etc. are the X- and Y-coordinate values (in pixels) on the camera-0 side or camera-2 side. These coordinate values will not change even when reference coordinate values change.
- Note the following when the reference coordinates are specified directly:


