[Color (Gravity and Area)]
- In the "Item tab" area, tap [Color].
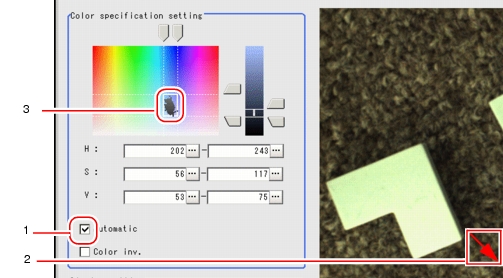
- In the "Color specification setting" area, specify the reference color.
- Make sure the [Automatic] option is checked.
- In the "Image display" area, specify the color area you want to detect by dragging the cursor from the upper left corner to the lower right corner of that area.
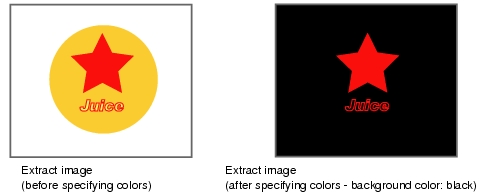
- The color of the specified area is automatically set.
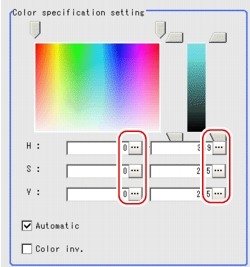
In the "Color specification setting" area, drag the sliders for "H" (Hue), "S" (Saturation), and "V" (Value).In the "Color specification setting" area, tap [...] for "H", "S", and "V" and specify each value.
For how to input value, see User's Manual, "Inputting a Value"
 - If necessary, in the "Display setting" area, set up display settings for the images displayed in the "Image display" area.
For the subsequent operations, see  Setting up [Gravity and Area].


