[Region setting (Edge Position)]
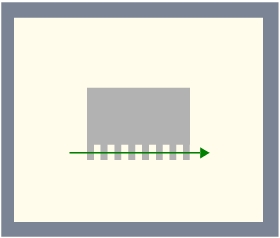
Use a straight line (arrow), circumference, or arc to specify a measurement region for [Edge position]
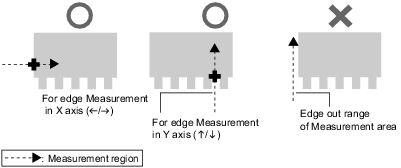
- Measurement results differ depending on the positions of the start point and end point of the measurement region.
When set up the measurement region, attention should be paid to the detecting direction of the edge. - When executing the selected edge color-based edge measurement, different edge detecting mode will lead to different measurement results, even the direction of the straight line is the same.
- Measurement cannot be performed if there is no edge within the measurement region. When determining the size and position of the measurement region, please specify the moving range of the Measurement object.
- The direction of the drawn arrow can be changed by tapping [
 ] in the "Detail" area.
 - Use the Zoom function if the measurement region is too small to identify the direction of the arrow.
For the Zoom function, see User's Manual, "Using Zoom Function".
- In the "Item tab" area, tap [Region setting].
- When a measurement region is already registered, tap [Edit]. When no measurement region is registered, go to Step
 3.
3. - Specify the measurement region using Drawing Tools.
- If necessary, in the "Region parameter "area, check the "Circle / Arc with width counterclockwise" option to specify the measurement direction for a wide circle or arc.
- In the "Figure setting" area, tap [OK].
For the following operations, see Setting up [Edge Position].


