Difference Image Display (Fine Matching)
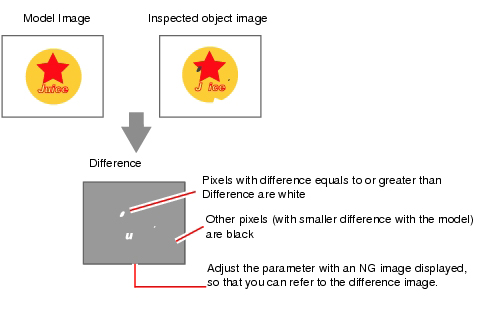
This sets the reference grayscale used when calculating differences between the model and the inspected object image.Modify this setting as necessary when defects cannot be detected successfully.Normally, the factory default value will be used.
After changing a setting, check whether measurement can be done properly by performing an actual measurement.
- In the Item Tab area, tap [Diff. image disp.].
- In the "Compensation processing" area, select a value for each item.
| Set value [Factory default] | |
|---|
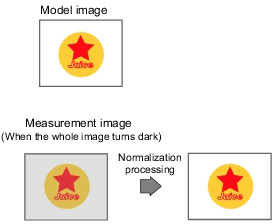
| | Specify whether to perform normalization based on the brightness in the registered model. When Normalization is checked, the density is adjusted before matching, so that the matching is not affected by changes in the total image brightness or the lighting fluctuations. When normalization is performed on the measured objects without patterns, the total image brightness is changed and the measurement does not work correctly. |
| | If you place a check here, in order to prevent mistaken detection of slight positional deviation of measurement objects as differences, slight positional deviations are corrected before matching.However, this requires more processing time. |
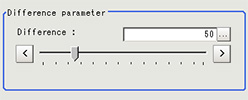
- Input the "Difference" in the "Difference parameter" area.
| Set value [Factory default] | |
|---|
| | This sets the reference grayscale used when calculating differences between the model and the inspected object image.Pixels with a difference equal to or greater than Difference are converted to white and other pixels are converted to black, so that only defects are converted to white and measured. |


