Useful Functions for Operation
Remeasuring Saved Images
Images from when measurement, including test measurement, was performed can be saved.Remeasurement can be performed with saved images after conditions are adjusted in order to check whether the adjustment is appropriate.
Images that can be remeasured include images saved in the controller and images saved in USB memory.
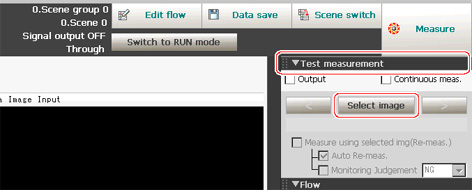
- In the "Control" area of the Main screen, tap [Test measurement setting].
- Tap [Select image].
- Tap [...] and select the file to display.
- The selected image is displayed.When there are multiple images in a file, use the "<<" and ">>" buttons to switch images.

- Tap [OK].
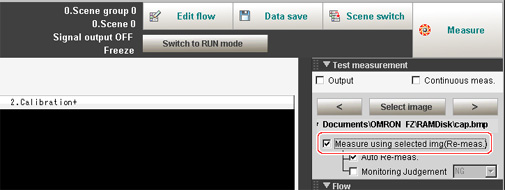
- Check "Measure using selected img (Re-meas.)".
- Tap [Measure] in the toolbar on the Main screen.
 Note
Note- About Auto Re-meas.
Displayed images can be automatically remeasured by placing a check in "Auto Re-meas.".
Important- When remeasuring an image with the controller, it is necessary to have a camera connected that is appropriate to the image size.For example, if the image file for remeasurement contains 2 megapixel images and a 0.3 megapixel camera is connected to the controller or if a camera is not connected, measurement will not be performed correctly due to a memory deficiency.Perform remeasurement after connecting a camera appropriate to the image size.
- About Auto Re-meas.


