When Performing 3D Measurement
Coordinates from two cameras must be linked when performing 3D measurement. This operation is called "3D coordinate setting".
- When using all-in-one camerasWhen the distance between the measurement objects and the camera position is small (300 mm or less), the 3D measurement can be performed with all-in-one cameras. All-in-one cameras do not require specific settings since the 3D coordinate parameter was set at the factory.
However, if the precision of measurement is not accurate, you may need to re-registrate the 3D coordinate parameter according to the installation environment. - When using separate-type cameras
3D Coordinate Registration
3D measurement is performed with a combination of two or three cameras. In order to accurately measure the height direction, the position of each camera must be accurately identified and the coordinates of two cameras must be linked. This procedure is referred to as "3D coordinate setting" and a custom calibration tool must be used. Please prepare a calibration tool beforehand.
Settings when the calibration target can be placed horizontally.
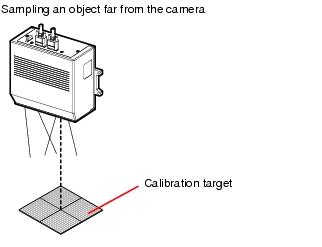
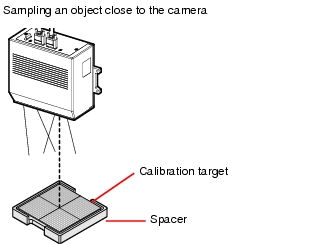
Take samples of the calibration target at 2 points, close and long distance from the camera. Set 3D coordinates by registering each position.
For the operations, see  Processing Items List Manual, "Measurement when the Measured Object can be Placed Horizontally".
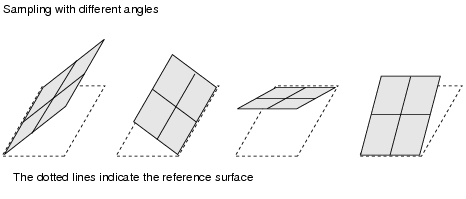
Settings when the calibration target cannot be placed horizontally.
For the operations, see  Processing Items List Manual, "Measurement when the Measured Object cannot be Placed Horizontally".


