Creating MDI Child Window
In this chapter, the development steps of MDI Child window is shown, by the example of MDI Child Window to display Logo image.Create Project
Press Add PanDA on the tool menu of Application Producer.
Then this dialog appears.
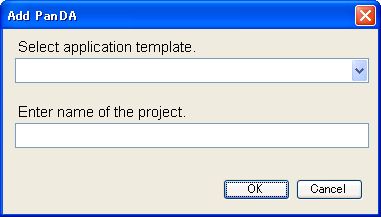
Select MDI Child Window on Select application template.
And specify the name of the project. In this example, set "DisplayLogo".
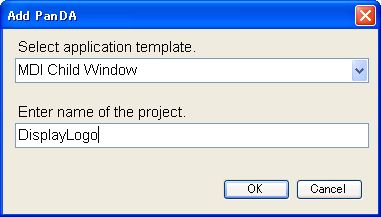
Press OK then skeleton code is created, and opened by VisualStudio.
Edit Form
Project of MDI Child Window consists of two classes.
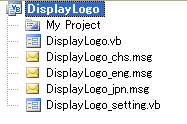
| Filename |
Description |
|---|---|
| <Project name>.vb |
MDI Child window shown on FJ main window |
| <Project name>_setting.vb |
Setting form to set parameters for MDI Child window |
Design the appearance by adding the controls to the forms by drag & drop from toolbox, and set properties in property setting window.
In this example, open DisplayLogo.vb with form designer at first.
And select PictureBox on toolbox, and drop it on form designer of DisplayLogo.vb.
Then PictureBox is located on DisplayLogo.vb.
Select added controls and set properties as necessary.
In this example, set property values as below.
| Control name |
Property |
Value |
|---|---|---|
| PictureBox1 |
BackgroundImageLayout |
Zoom |
| Dock |
Fill |
And desing setting form as well.
In this example, the file dialog to select logo image, and the button to show the dialog are assigned on the form.
| Control name |
Property |
Value |
|---|---|---|
| OpenFileDialog1 |
Filter |
Jpeg image(*.jpg)¦*.jpg¦ Bitmap image(*.bmp)¦*.bmp |
And add the codes, in order to open file dialog by pressing button.
Define internal setting data
Define the data which is exchanged by MDI Child window and setting form.
The data is defined in DataDef class, which is defined in MDI Child Window Class.
In this example, the file name of selected image is defined in DataDef.
If it is necessary to set initial value, define it on DefaultSetting in MDI Child Window class.
In this example, no need to set initial value.
In order to have multiple data in setting data, it is necessary to write codes to integrate multiple data into one string data, and extract multiple data from one string data.
The template used in this example already include the procedures to convert DataDef to string and restore DataDef from string, so it is not necessary to program these codes by yourself.
The length of each entry in system data is limited to 1023 characters. If it is necessary to exchange bigger data, consider another method to share data such as creating your own method to convert string, or using newly created file.
Implement event procedure
In MDI Child Window and Setting Form, it is possible to define event procedure by defining following modules in necessary.
| Name |
Description |
Event timing |
|---|---|---|
| SaveSettingData() |
Save setting data |
When OK button is pressed |
| LoadSettingData() |
Load setting data |
When Setting Form starts |
| SetMessageText() |
Load message text |
When Setting Form starts |
| Name |
Description |
Event timing |
|---|---|---|
| SettingDataChange() |
Reflect hte change of setting data |
When MDI Child Window is loaded or OK button pressed on Setting Form |
| MakeSettingData() |
Save setting data |
When Data Save is executed or Setting Form starts |
| SetMessageText() |
Load message text |
When MDI Child window is loaded |
| MeasureInitProc() |
Event of measurement initialization |
On Measurement initialization |
| MeasureDispProc() |
Event of measurement display |
On refreshing measurement display |
| SceneChangeProc() |
Event of scene switching |
Just after switching scene |
In this example, these procedures are implemented.
| SaveSettingData() |
File path of selected image file is stored as string data. |
| SettingDataChange() |
Load image data to PictureBox1, from the image file. |
Each codes are as below.
DisplayLogo_setting : SaveSettingData
DisplayLogo : SettingDataChgange
Implement multi-language
In order to switch languages of the messages displayed on the screen according to the system setting, create message files for each language, and implement procedures of loading and setting messages in SetMessageText().
In this example, set message text to button on Setting Form.
Message file is written in UTF-8 as below.
Build project and test
Build the project from the menu of VisualStudio.
Then the file "DisplayLogo.dll" is created, and copied on "Release_XP" folder on current workspace.
Press "Start" from Application Producer menu, then FJ software starts.
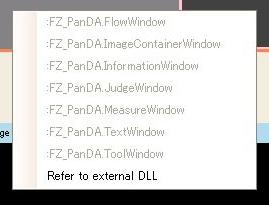
Show MDI Child window by the menu shown below.
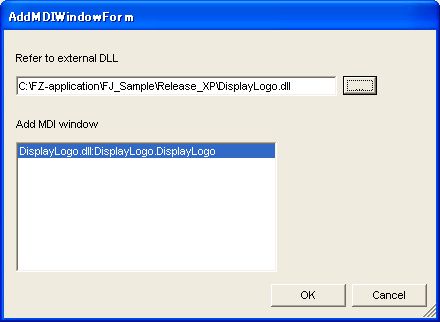
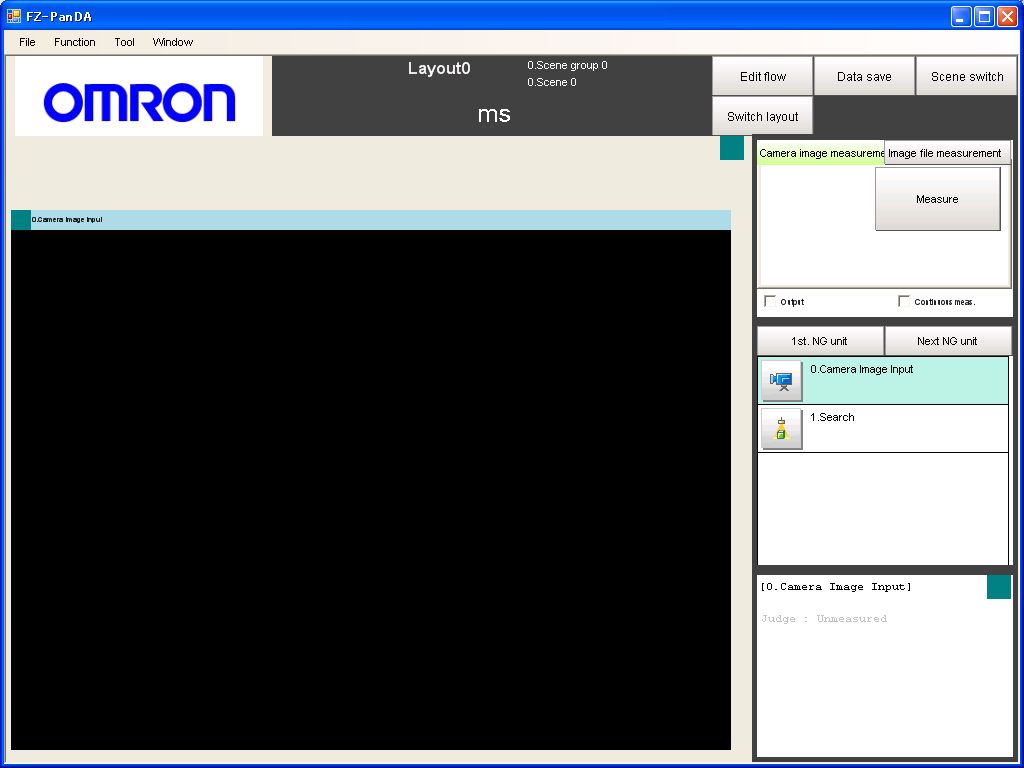
Debug
Follow these steps to debug created module with Visual Studio.
(1) Build the project in Debug mode.
(2) Start FJ software from "Start" menu of Application Producer toolbox.
(3) On Visual Studio menu, select [Debug] -> [Attouch process] and select process named "FZ-PanDA.exe".
(4) Add MDI Child Window on the screen by the procedure shown above.