Region Setting (Polar Transformation)
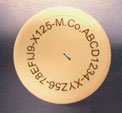
Set a region enclosing the character string that is lined up along a circle.
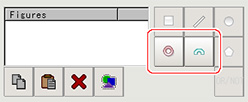
- Use the Drawing tools to specify the measurement region.

- Enclose the characters in the image.

- In the figure setting area, tap [OK].The measurement region is registered and displayed in the Image Display area.
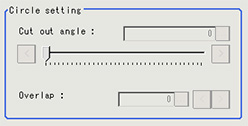
- As necessary, set the items in the "Circle setting" area.
 Setting itemSet value
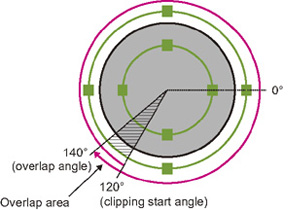
[Factory default]Description[0] to 359Set the angle for starting extraction when the figure is a wide circle.[0] to 180Set the angle for overlap when the figure is a wide circle.
The overlap angle indicates the end angle of the measurement range.
This is set to measure extra overlapping from the start angle.
Basically, set this larger than the extraction angle.
- Place a check at [Disp transferred image].Displays the polar transformed image in the image window.
The vertical and horizontal image sizes (in pixels) are displayed overlapped.
